
Making A Chair Part Five - Shaping
Bits and Bobs
It’s been a while since I posted on this series, I hope the anticipation has been bearable. Moving straight into action, this week I’ll be shaping the uppercarriage. There’s a wiggly red line under that word for some reason.
Unfortunately there are a few processes that don’t photograph very well here - like making the dowel for spindles or tenoning the ends. I’d make a video, but then I’d be halfway to being an influencer and that’s not happening. You’ll just have to trust me that some bits of wood spin round quite fast then end up in the right shape.
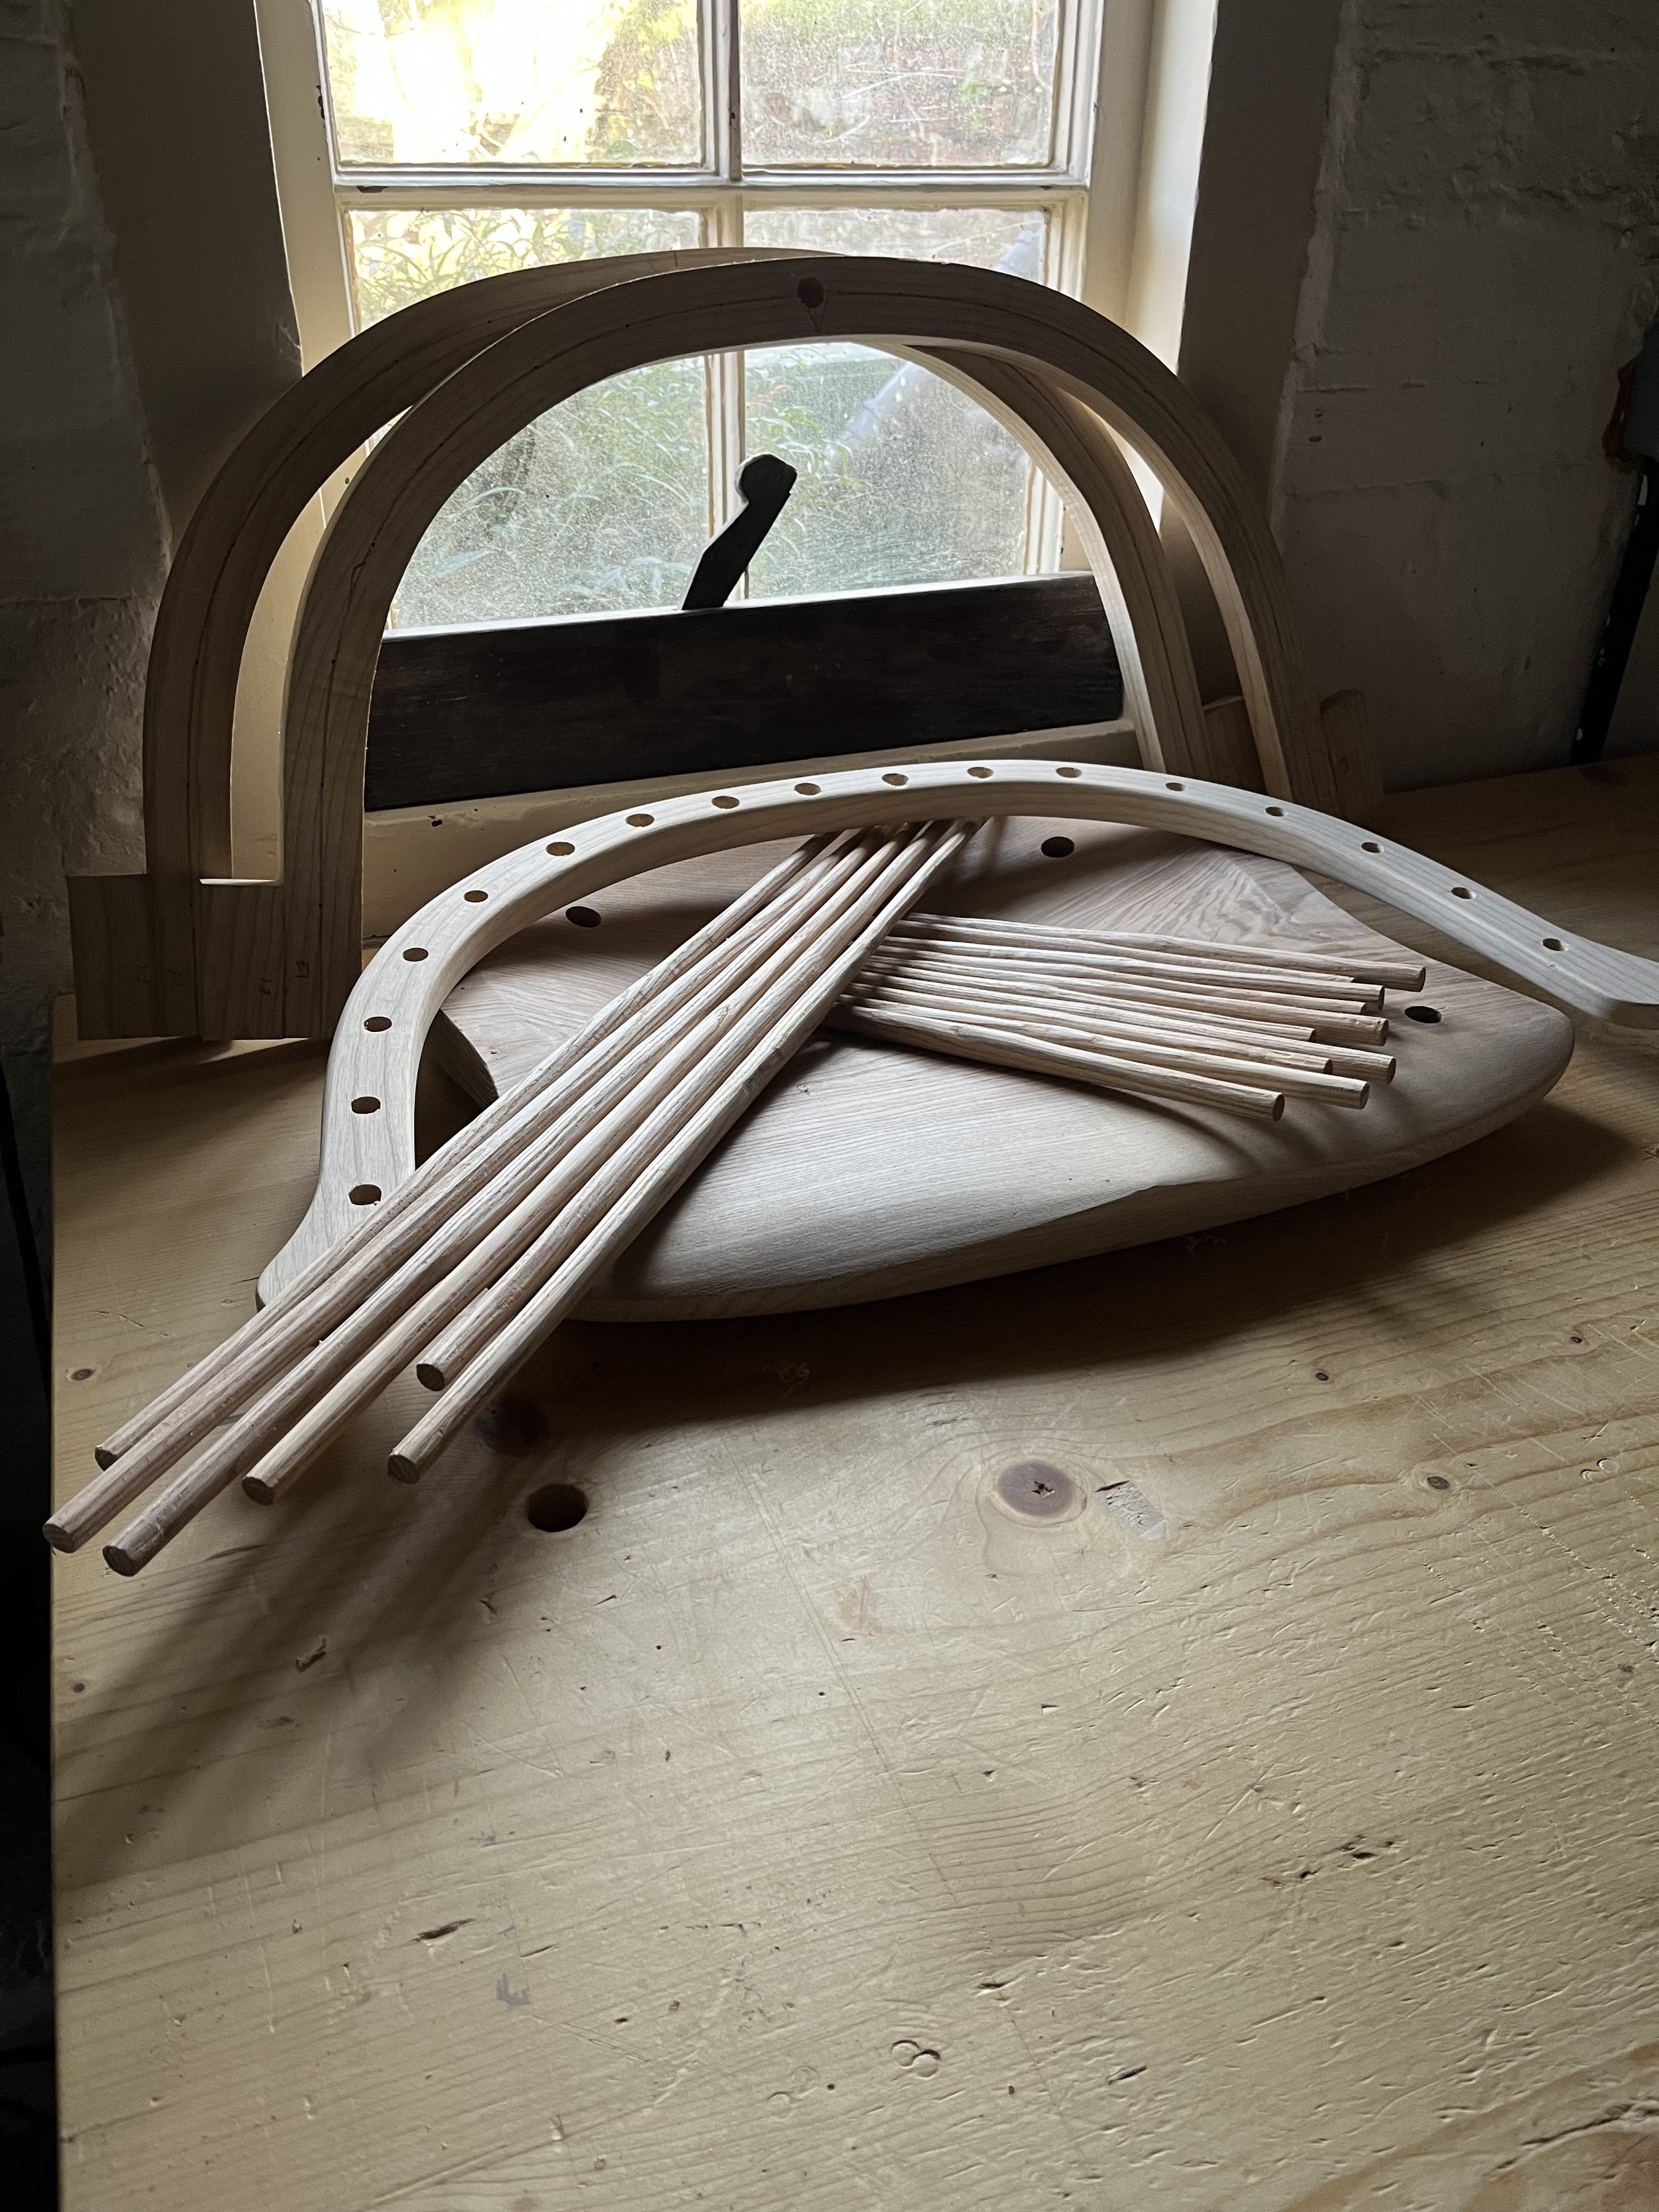
First move is to mark each spindle with tape where it will meet the arm. The spindle is held upright in a vice and I take off the bulk of the material with a heavy set spokeshave, finessing it with a smaller version afterwards. My spindles have been getting gradually thinner as I gain more confidence in chairmaking. They look best if they’re nice and slim towards the top; I’m aiming for the elegance of Georgian sash glazing bars. Picture me with my little finger pointing out while I sip from a bone china teacup here.
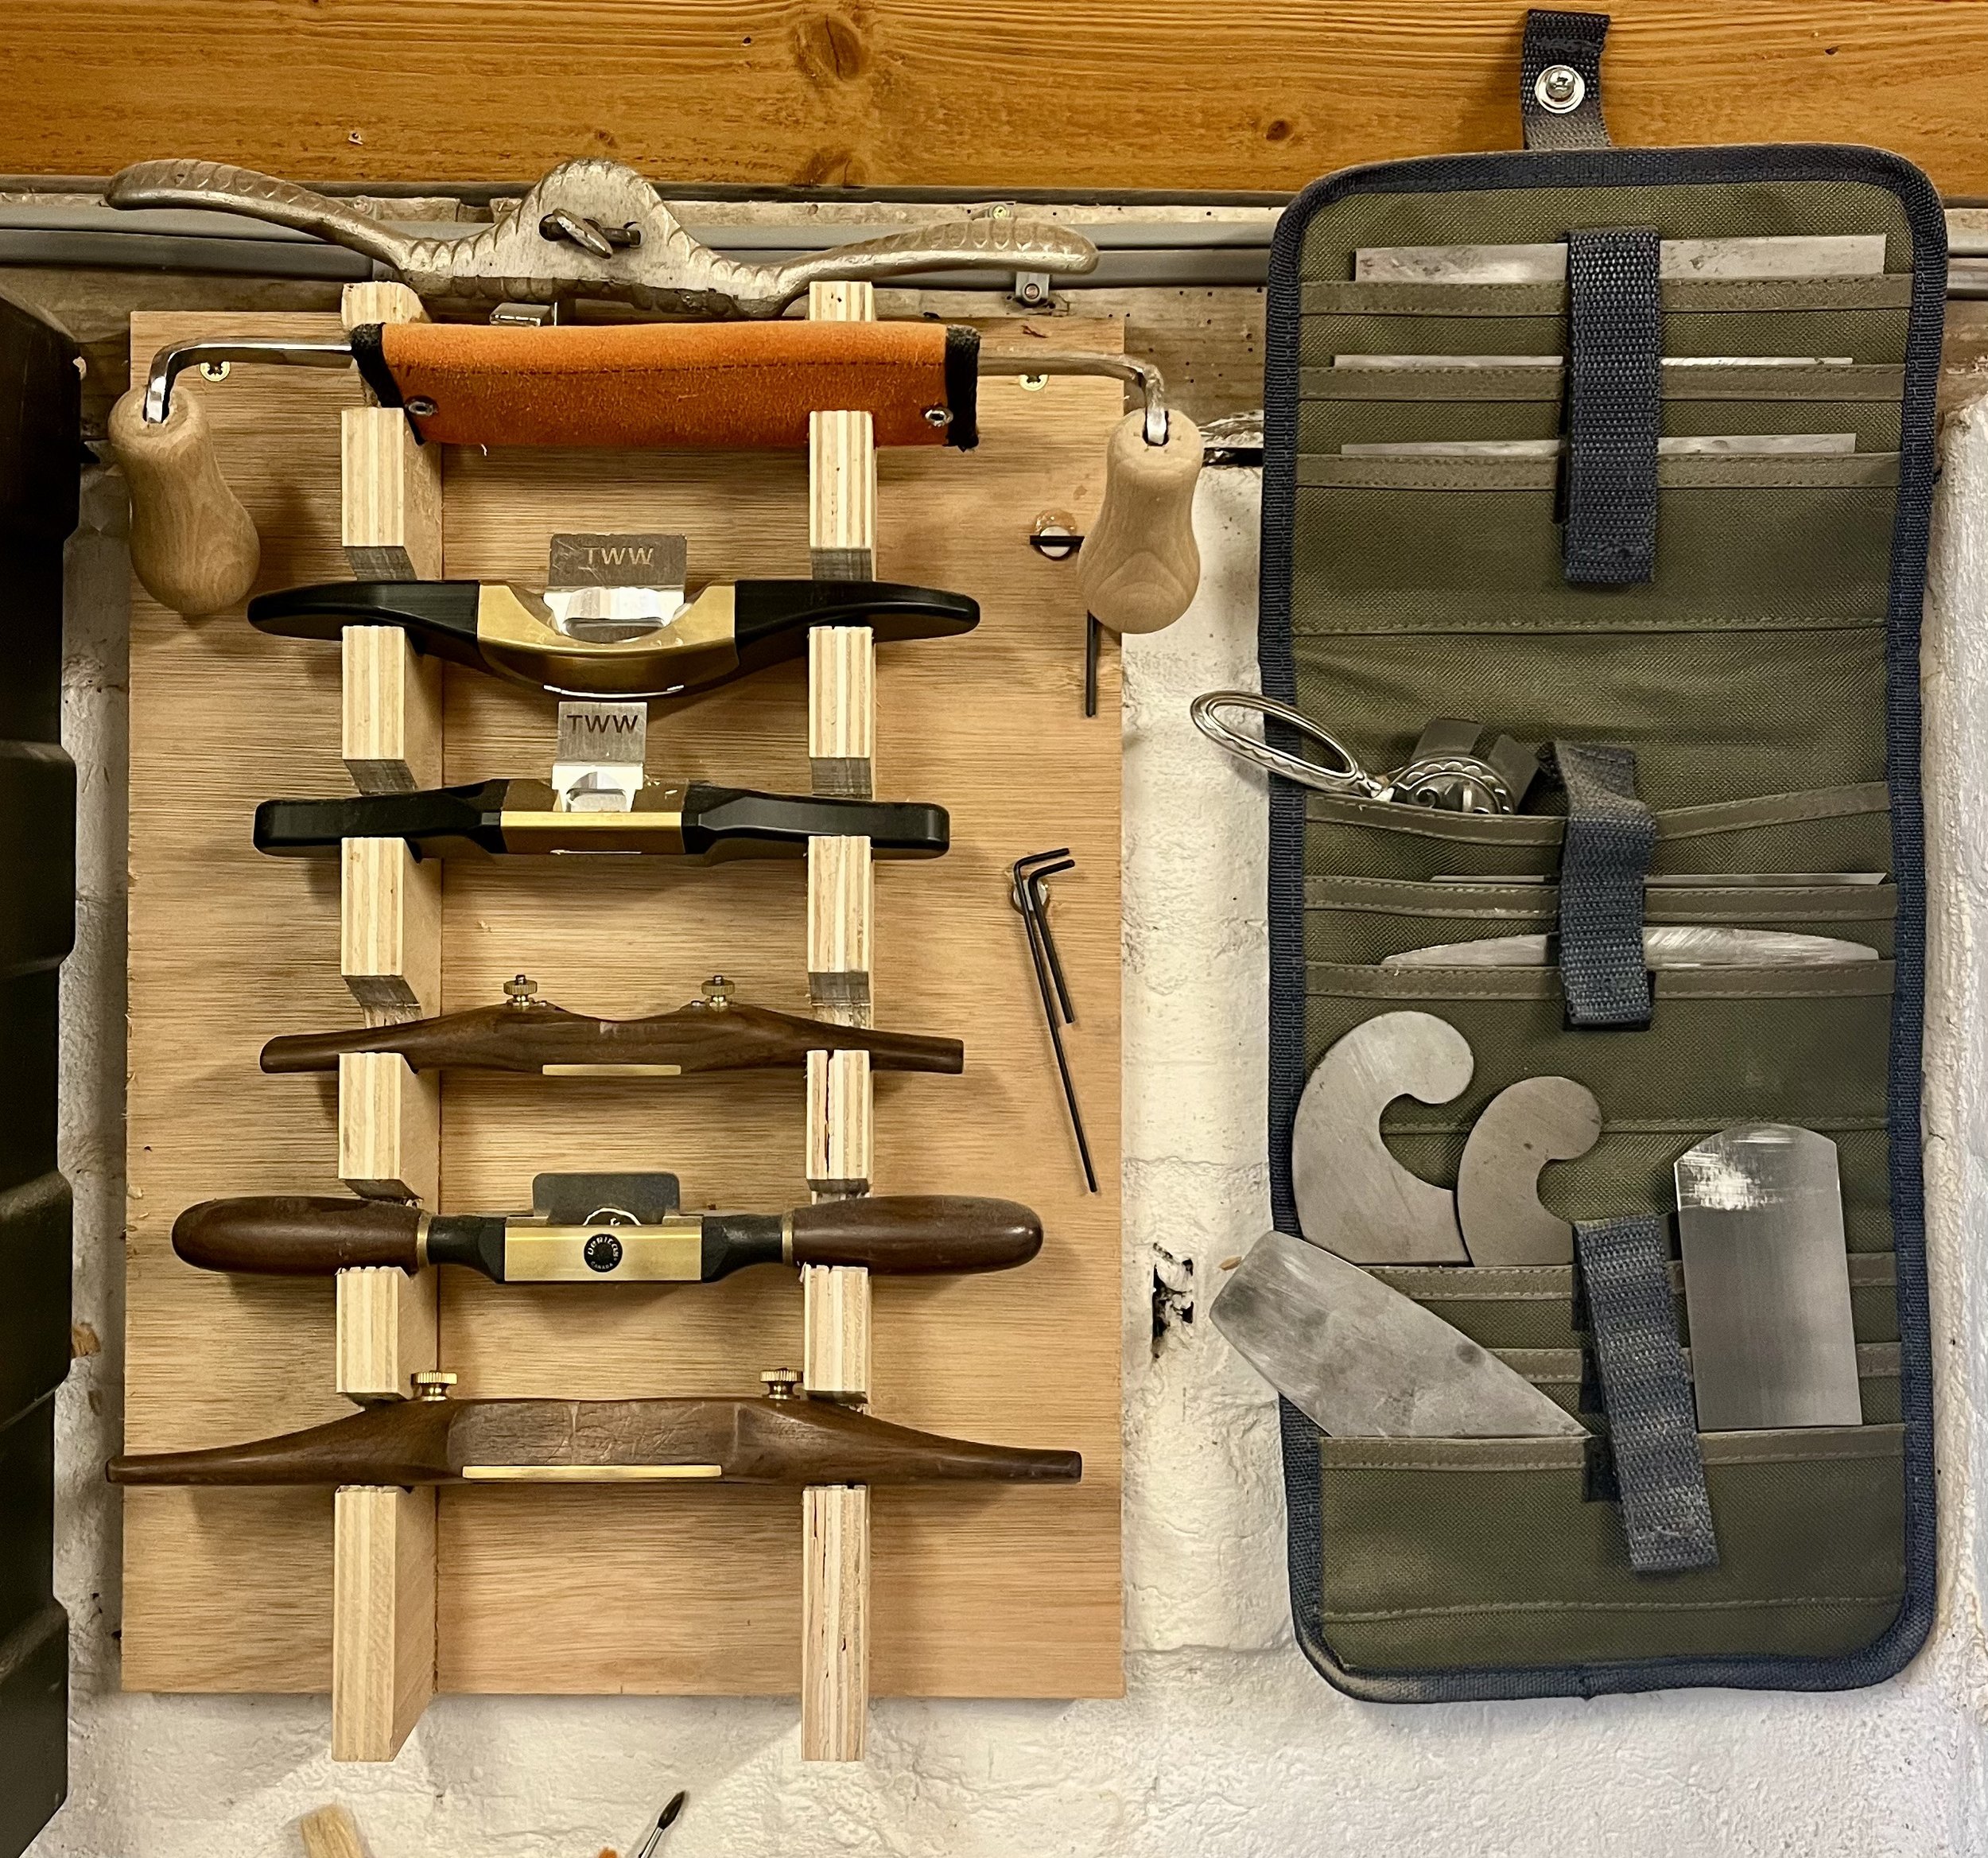
Spokeshaves and Scrapers
Next up is drilling the arm, while it’s clamped in place over the seat. Drilling the arm takes a bit of confidence, as you can’t actually see the mark you’re aiming at. Still, slight inaccuracy is no bad thing here, it adds tension once it’s assembled. Once drilled, the arm is held in my carver’s vice and shaped with spokeshaves. I pay particular attention to the face where the sitter’s back meets the chair; this needs to be shaved thin so it doesn’t dig in. The hands need to be smooth and comfortable. Altogether, the arm should be as slim as possible. Let’s nail my colours to the mast - I can’t stand thick, clumsy arms on chairs. The Smoker’s Bow makes me shudder and the Welsh Stick Chair looks like a throne for Shrek.

Arms, Before and After Shaping.
Once I’m happy with the arm, I’ll glue all the spindles into the seat. The arm is then knocked down in to place, with the tops of the shorter spindles poking through. These get split with a chisel and small wedges are knocked into place. If you look carefully at the finished chair, you’ll see that wedges are always ninety degrees to the direction of the grain - this stops the wood splitting.
The next day, I’ll level the tops of the short spindles and wedges with a chisel and card scraper. Time for the last bit of joinery, fitting the bow. The bow is offered up to find the right angle, the arm is marked and I drill the mortises. Edgy work, as it’s pretty much the last chance to totally bugger things up after several hour’s effort. I then make tenons on the both ends of the bow.
Shaping the bow is much like shaping the arm. What’s critical here (to my eye, anyway) is the transition from square stock to round, where the bow meets the arm. It’s an element I always concentrate on when looking at antique Windsors. Wycombe makers usually swerved the issue by keeping the stock square and scribing to the arm, creating a “flat’ joint. I prefer the look and the challenge of a transition. Horses for courses.
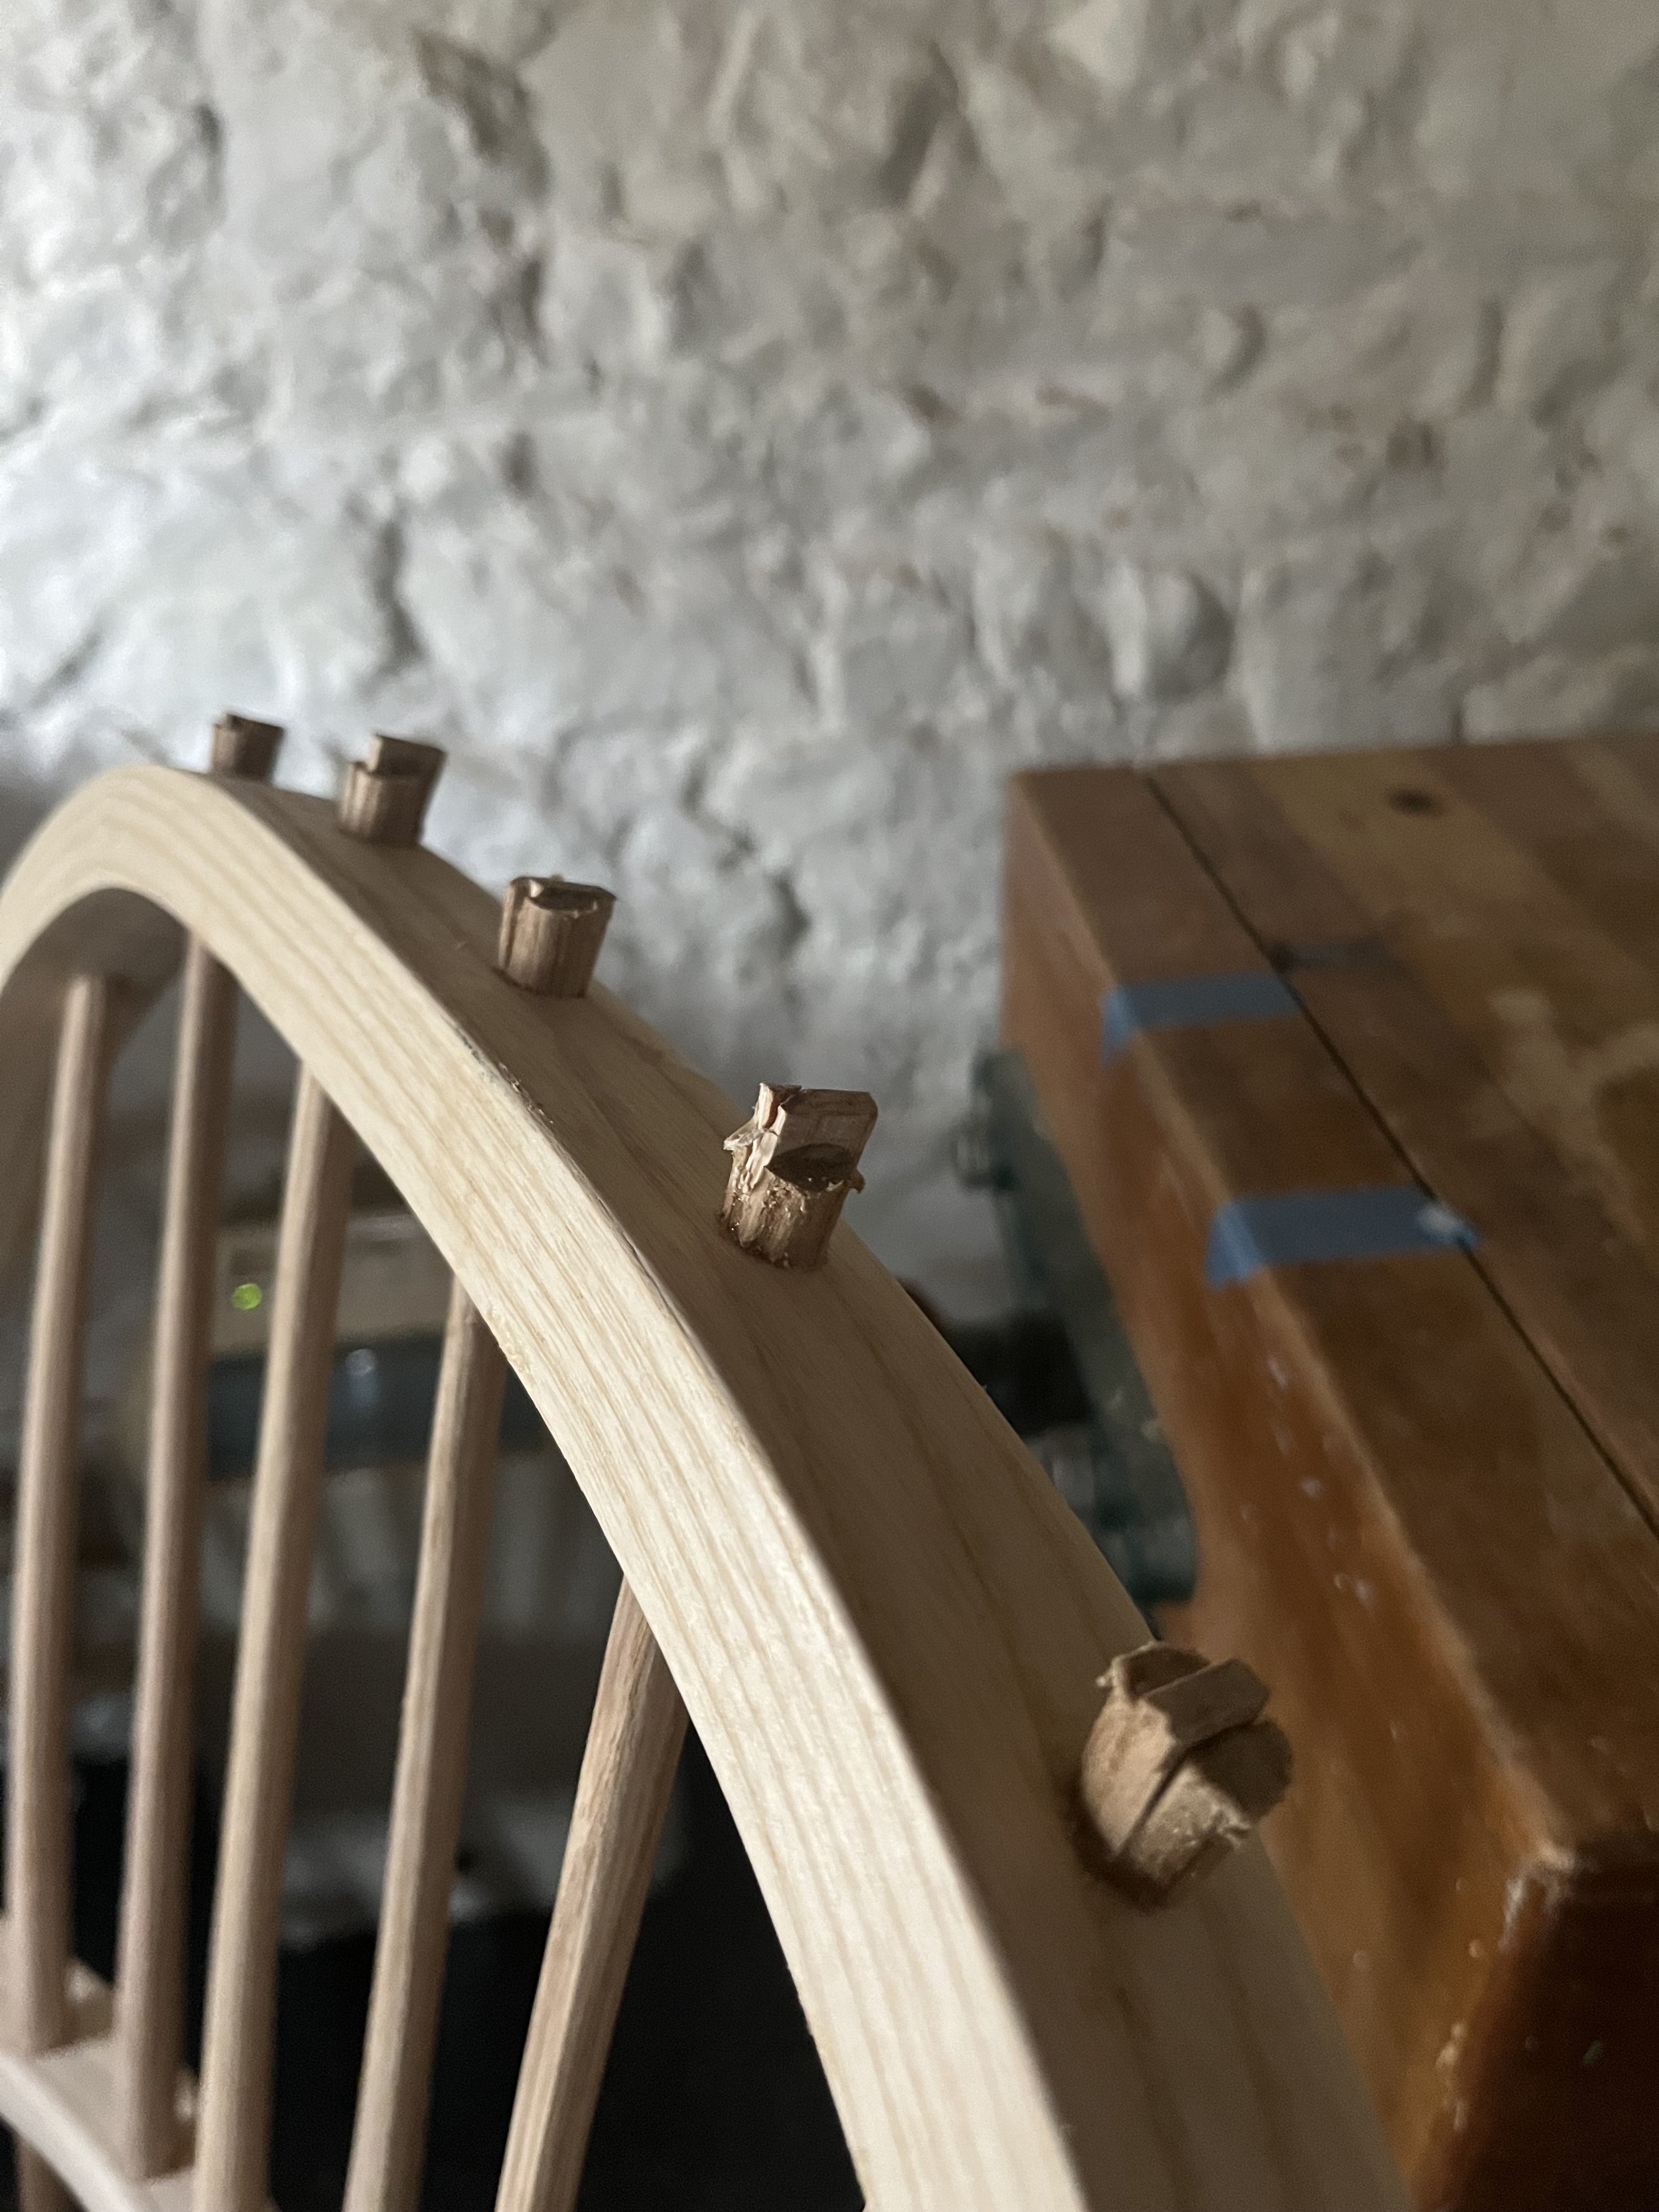
Spindles, Bow, Wedges
All that remains is to drill the top of the bow for the spindles, then wrangle it into place. I’ve learned to do this first thing, as it can be a bit frustrating if the spindles keep popping out. Definitely a job for an unflustered, freshly caffeinated head. The bow tenons are left slightly protruding from underneath the arm - this needs to be a strong joint as the chair will be picked up by the bow. Wedges all round, and job’s a goodun. Oh look, wiggly red line again. These computers haven’t got much vocabulary, have they?
Next Episode - Finishing.
If you enjoyed this post, please subscribe and share.