
Making A Chair Part Six - Finishing
Chair Pilates?
With the temperature outside heading towards thirty degrees, it seems a long time ago that I wrote about that frosty trip to the woodyard. I should probably explain that it doesn’t take me six months to make a chair. It does, however, take me six months to write about making a chair. Anyway, the finishing line is in sight, so let’s get on and finish.
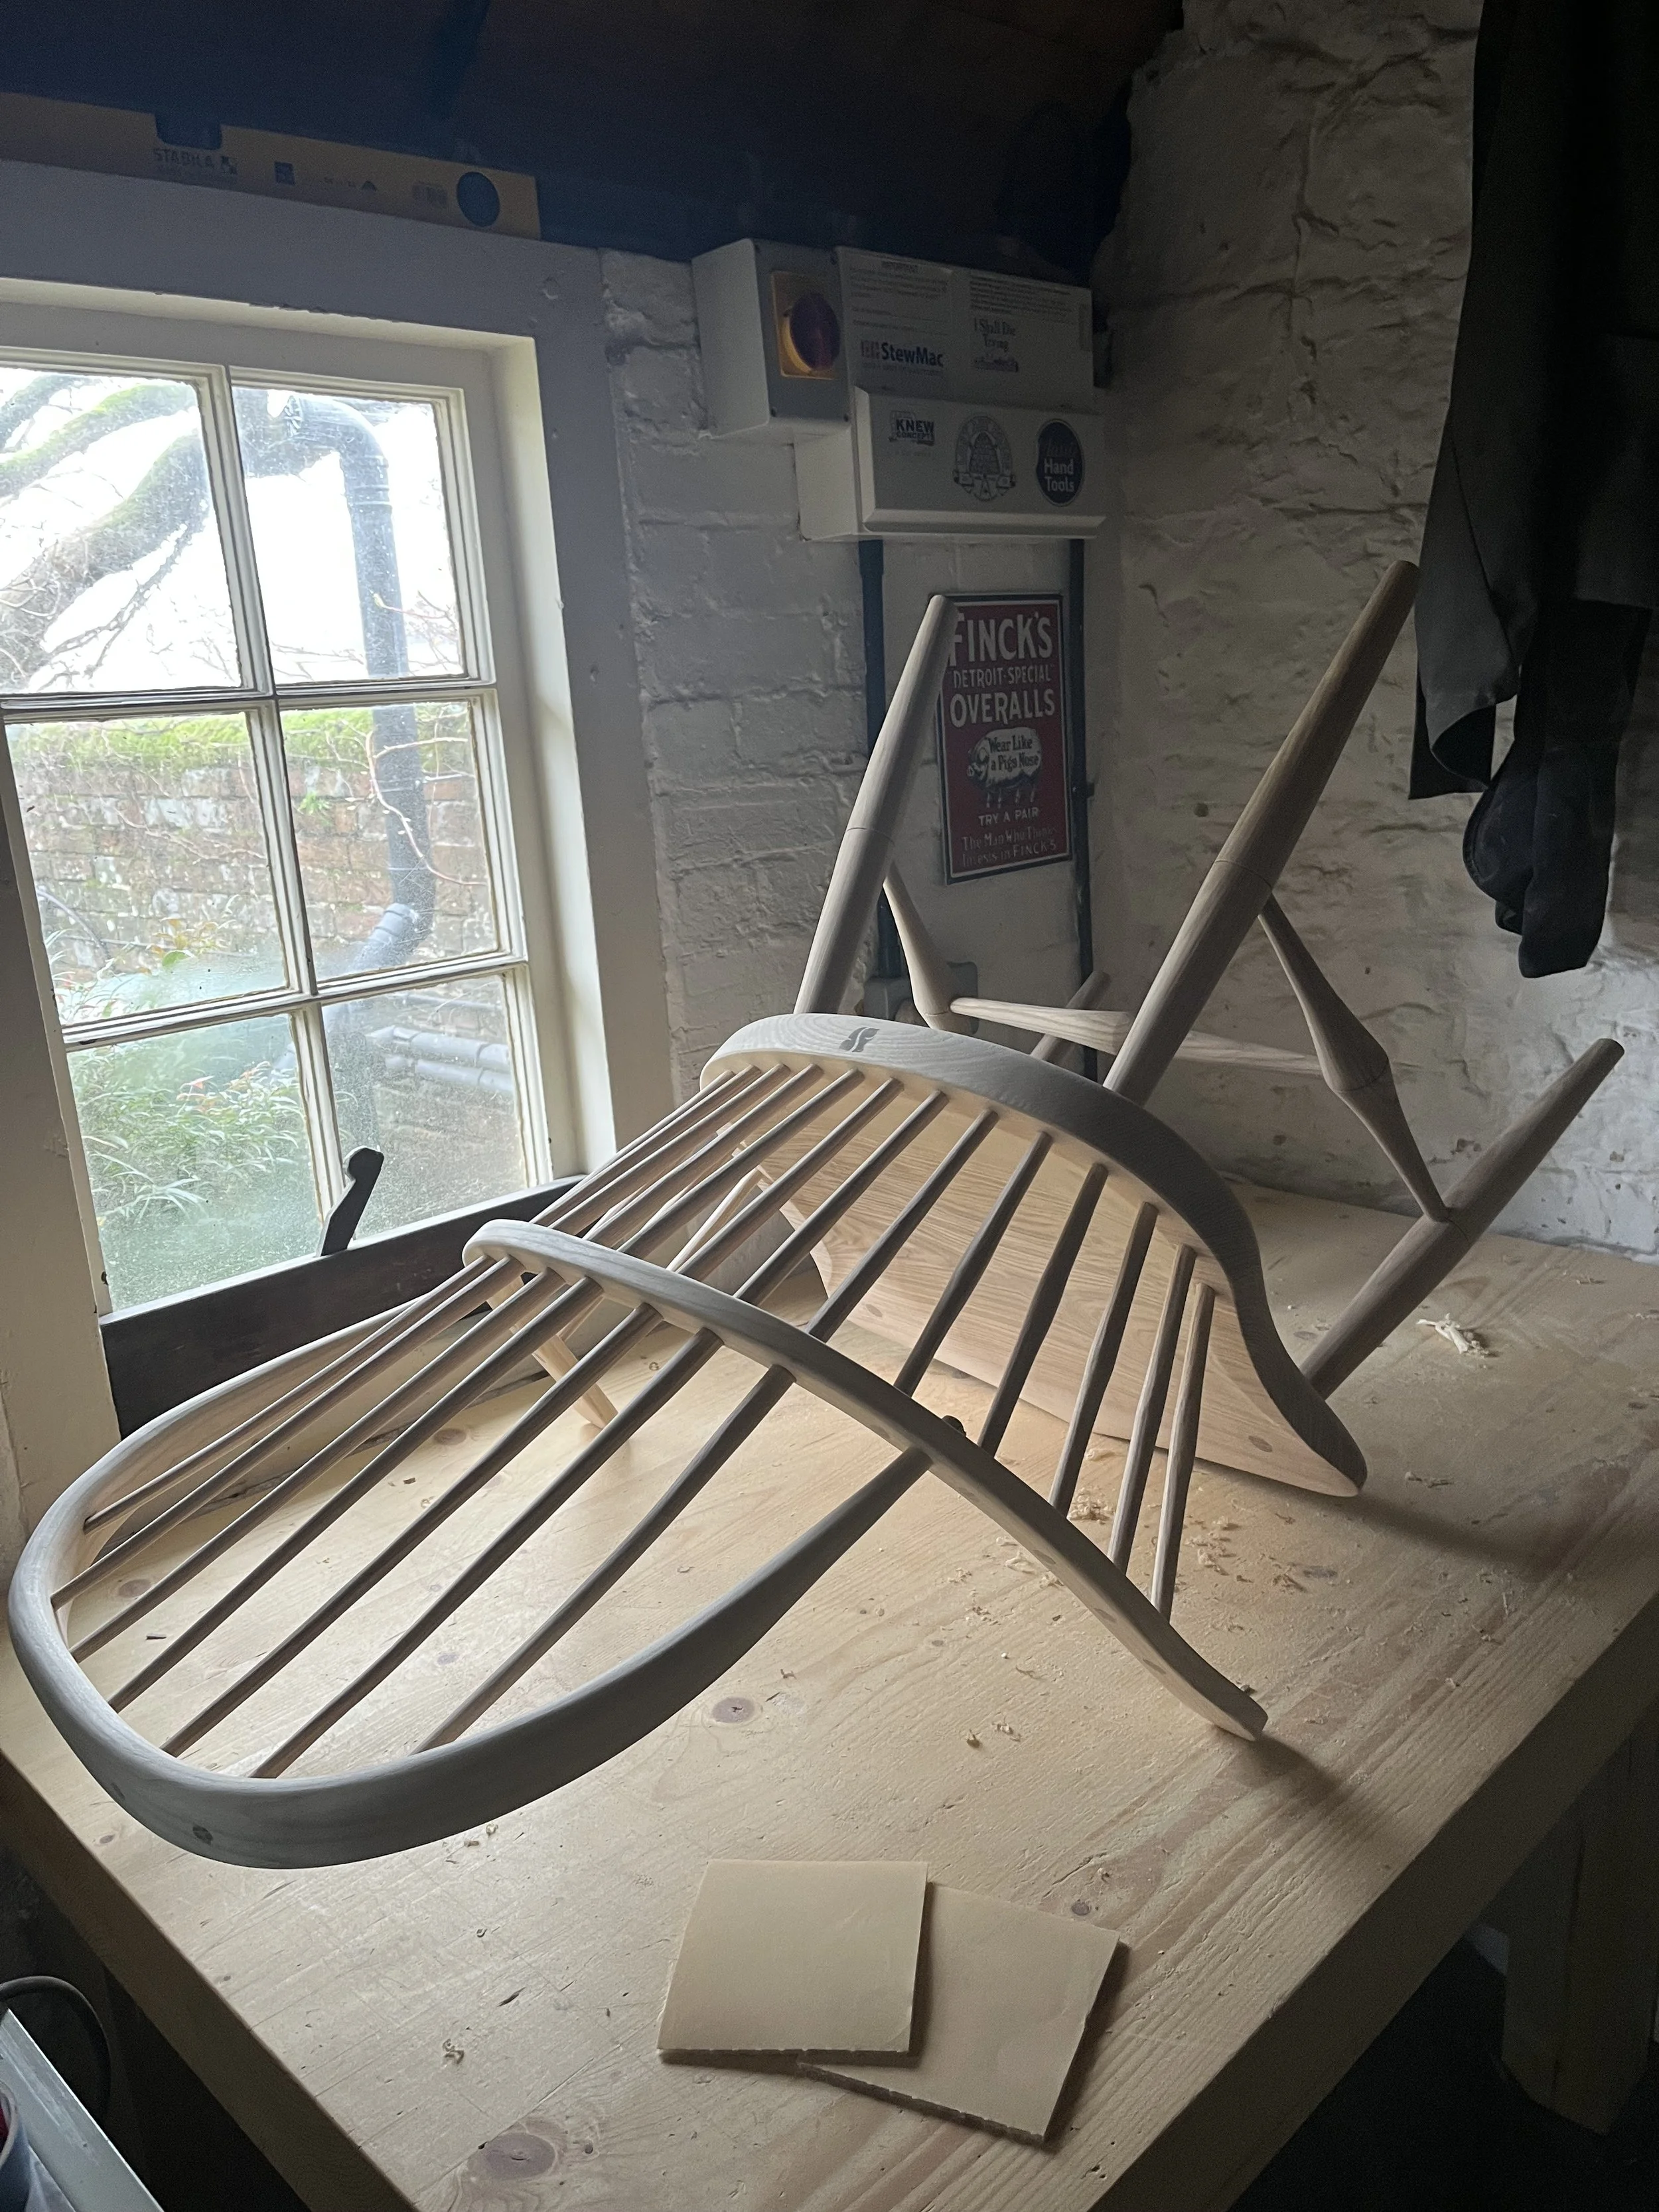
When putting the chair together I used warm water to remove excess glue. This raised the grain (it stands up and feels fluffy) so particular care is taken sanding around the tops of legs and around spindles. There’s a chance I’ll also be reaching for my card scraper to swipe off any spots or marks. For sanding, I use Mirka pads - see the top photo. These are made for preparing car bodywork, but perfect for high-quality wood finishing.
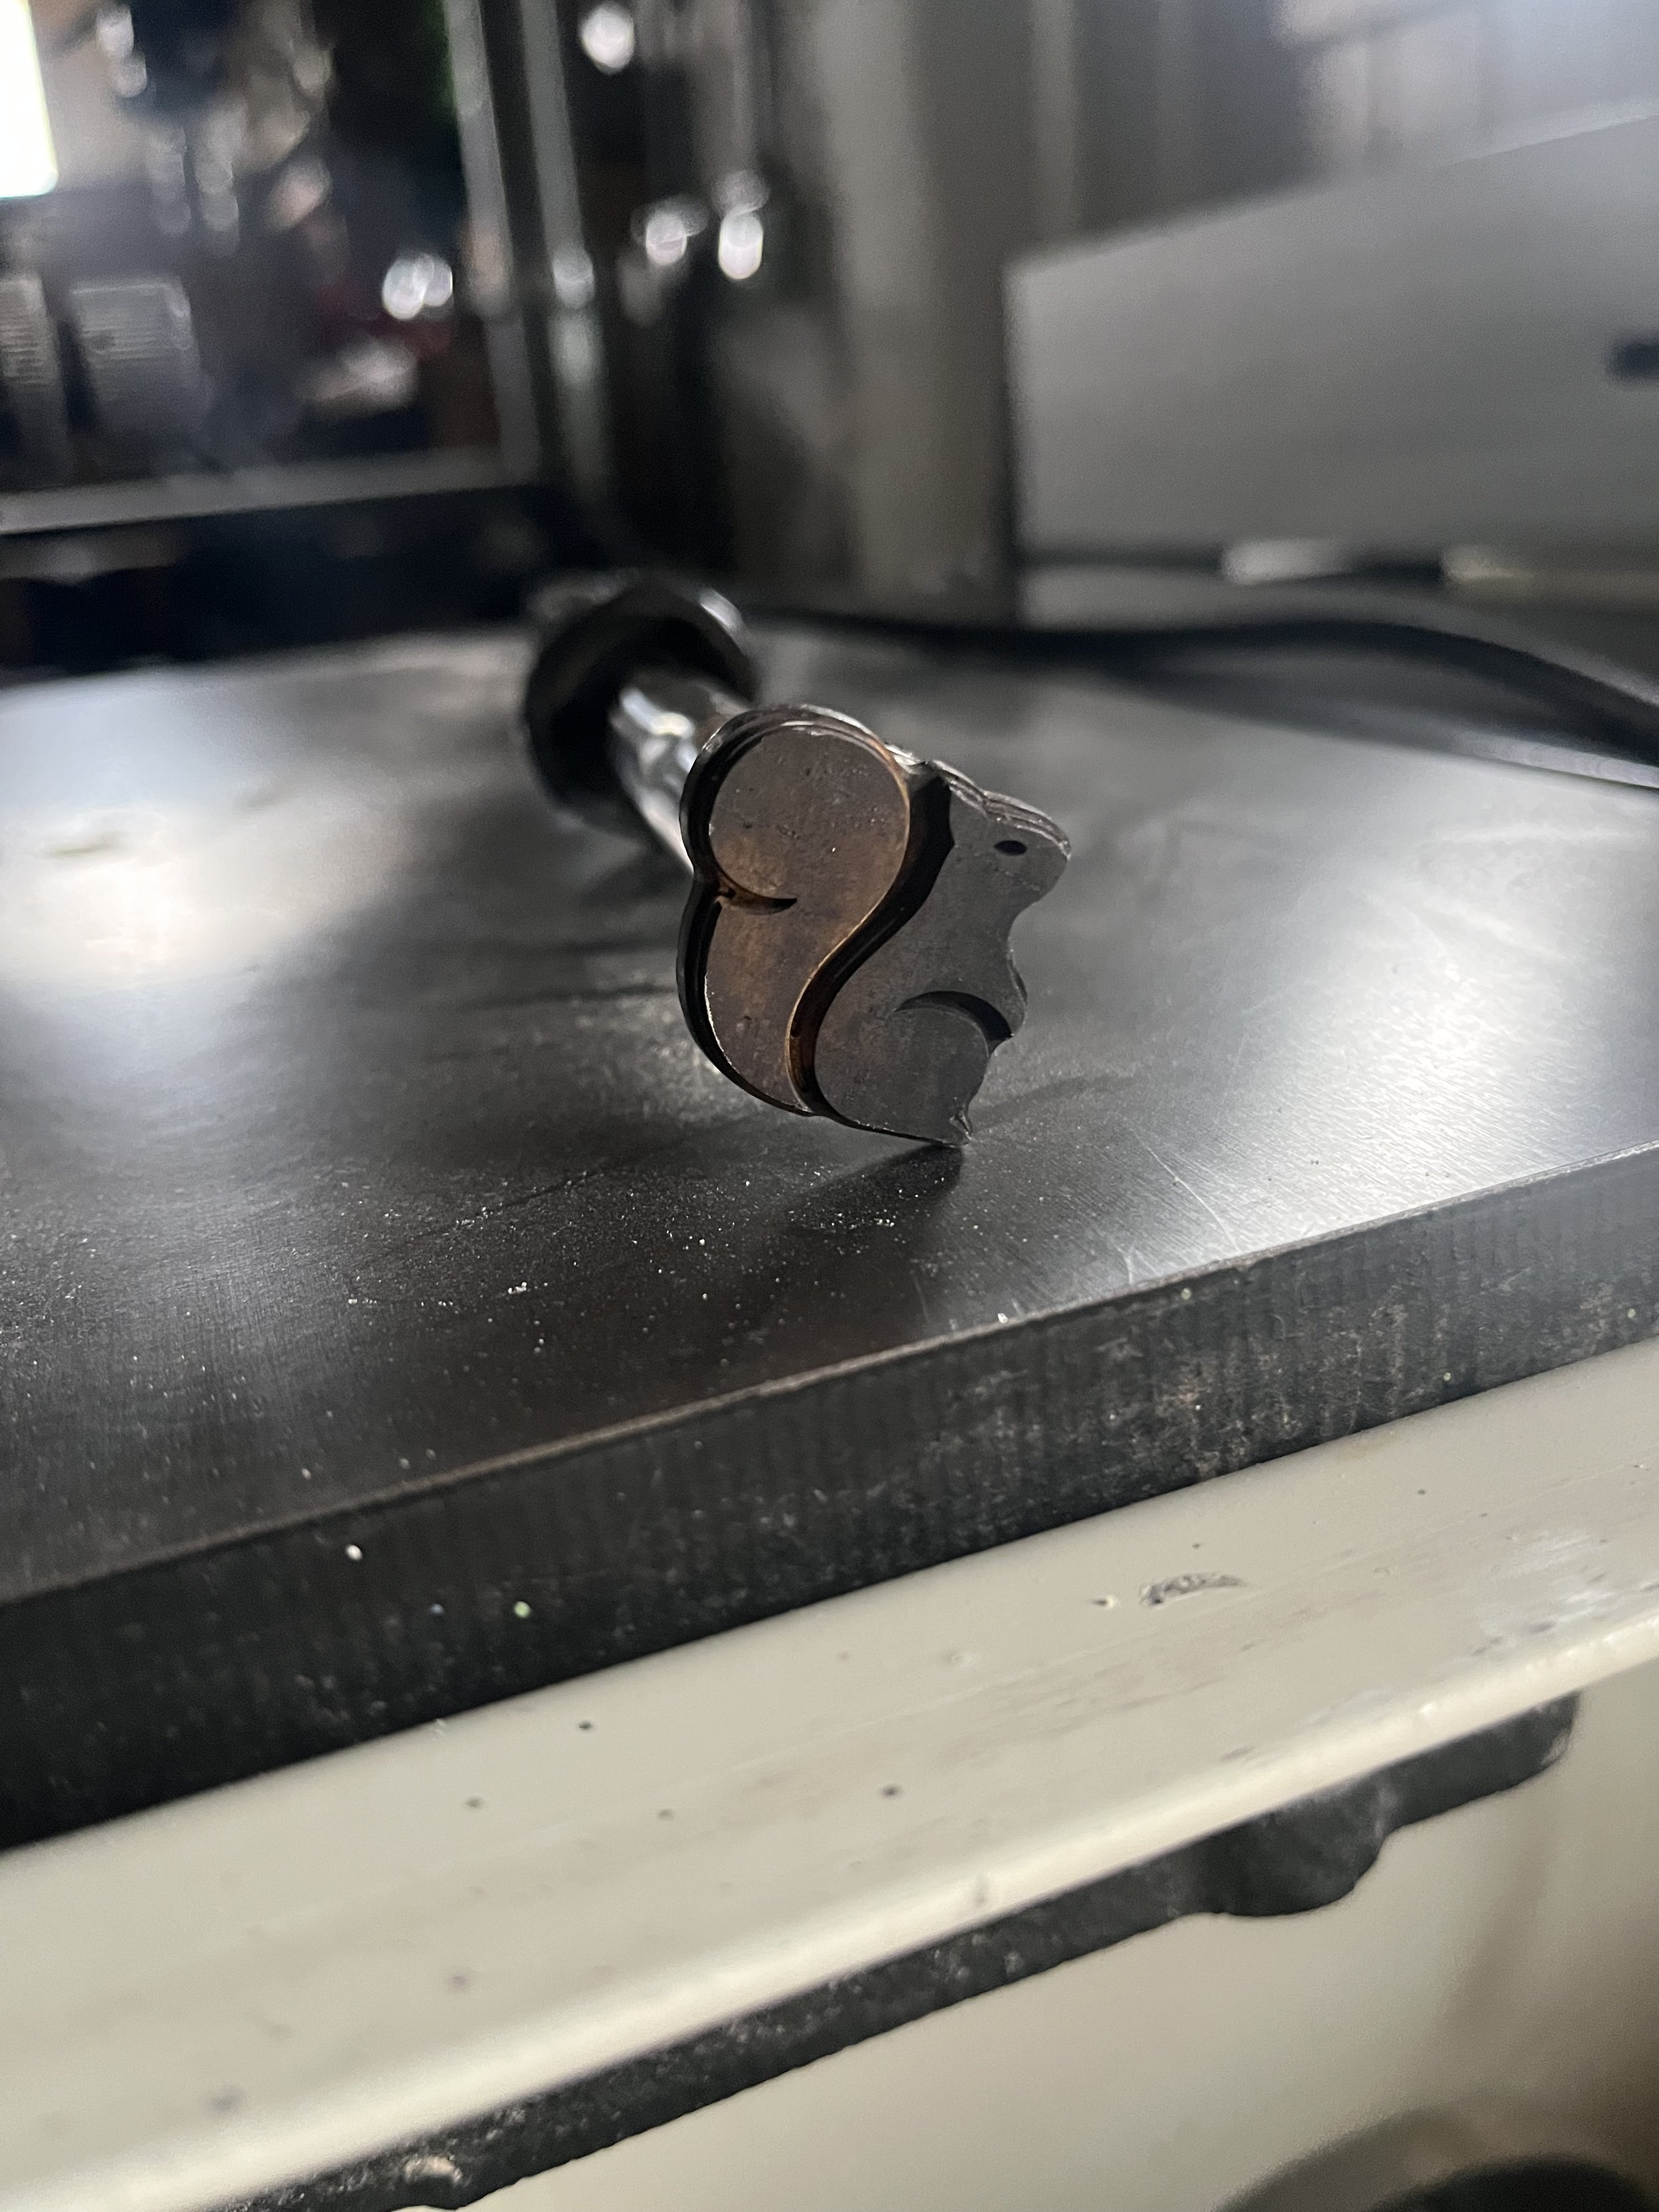
Branding Iron
Every chair I make is branded - literally. For this I use a soldering iron with a metal logo attached, which gets heated up to red hot then carefully placed onto the rear of the seat. There’s a satisfying sizzle and the seat is marked with a squirrel.
During my misspent youth I spent many a happy hour sanding epoxy filler with a rollup hanging out of my mouth. I seem to have got away with that, so no point pushing my luck. Dust mask on, air filtration box set to “make an absolute racket”. Taking it in stages, the whole chair gets rubbed down with 180 grit, then 240, then 320.
This is where my sense of touch becomes important. I’ll run my hands over every part of the chair, checking that it’s smooth. Once I’m happy then the chair is hoovered/dusted and off to the finishing room.
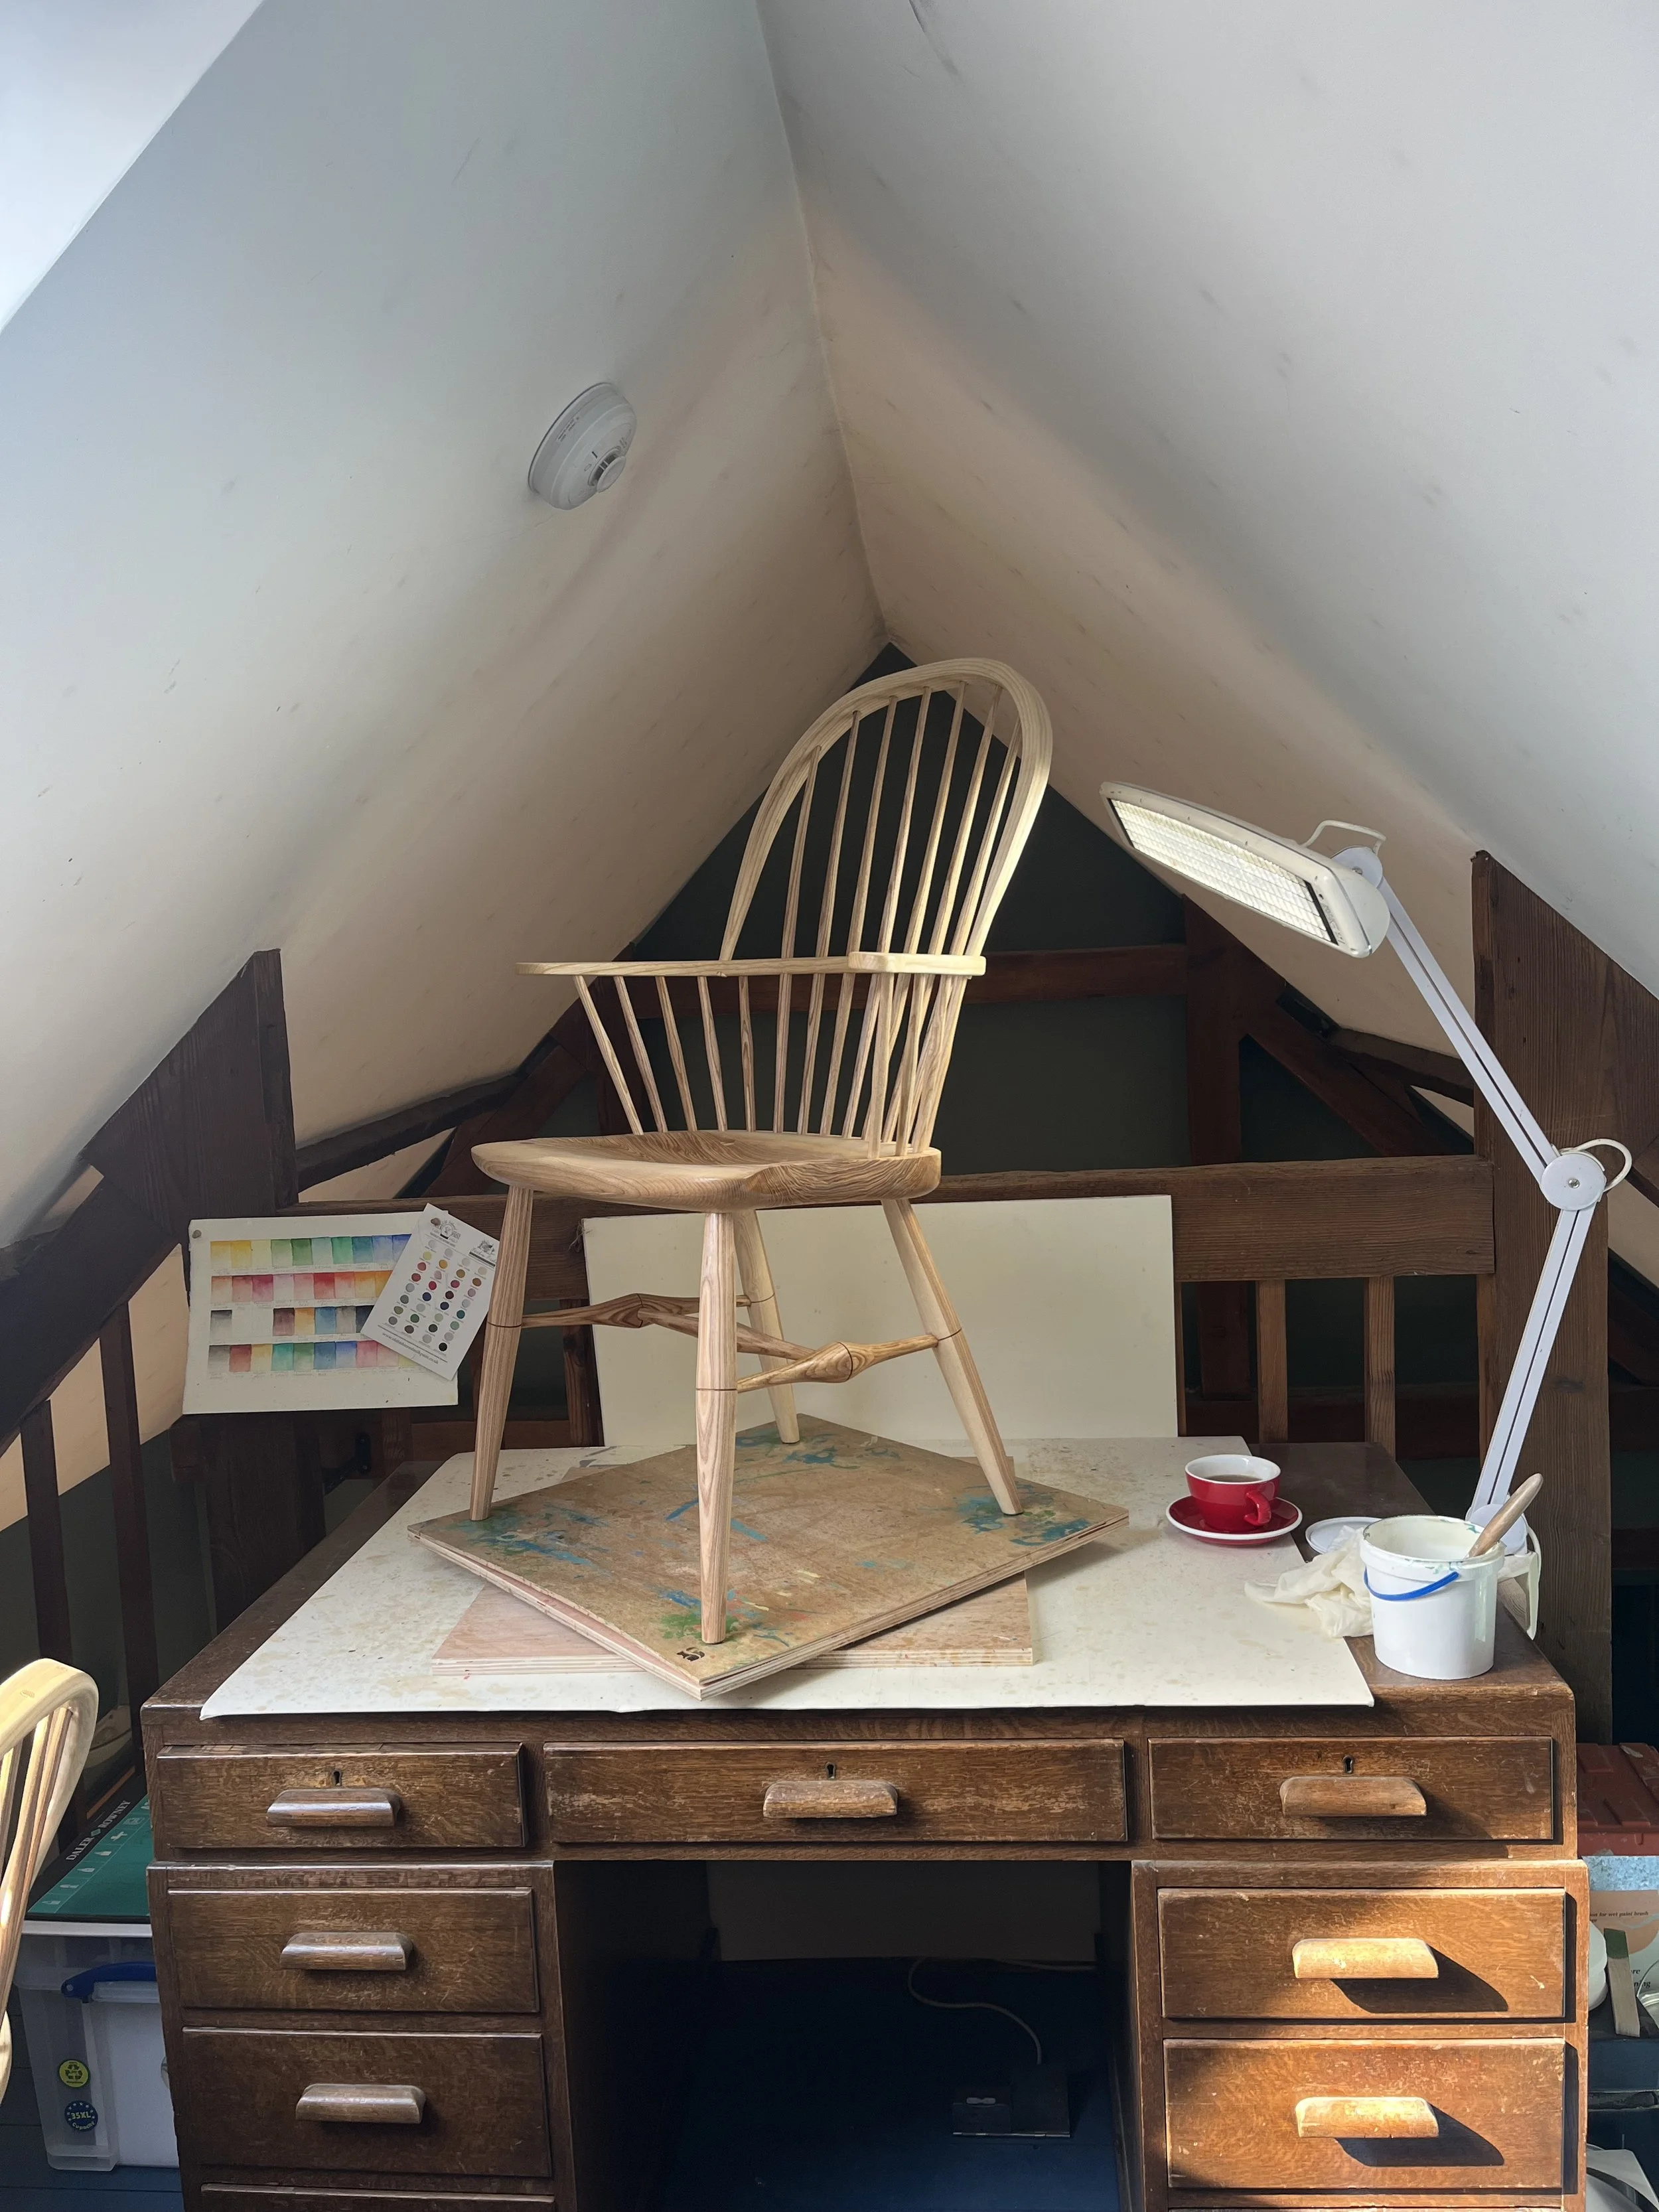
Ready For First Coat
My house and workshop used to form part of a stableyard for the farmhouse next door. Those who have family history in the village tell me it was also a wheelwrights, so there have been people faffing about with spokeshaves in the close vicinity for a very long time. It also means I have a former hayloft, which is the perfect place to carry out finishing - dust free and well-ventilated.
On with the finish. I’ve used Osmo for thirty odd years, from floors to doors. It’s commonly available, properly hard-wearing without looking syrupy and the smell isn’t offputting. The first coat gets mixed with a dribble of white spirit. This might be unnecessary but it’s an old decorator’s habit to not trust anything straight from the tin…a bit like chefs and seasoning, we can’t leave it be!
The Osmo is applied generously with a brush. I’ll then prime a cotton rag and wipe it off, trying to push the excess into the wood. The first coat is always a pleasure. Time in the woodyard choosing attractive timber and time spent sanding become worthwhile as the natural beauty of the wood reveals itself.
Next day the chair gets a flick over with an extra-fine sanding pad, a good going over with a dust brush and a swipe with a tack cloth to catch any last bits and bobs. The second coat is applied using the same method as the first, although I’ll lay slightly less on and wipe off a bit harder. Once finished, I’ll aim to leave the chair for at least four days to dry completely. Nobody wants a sticky chair.
And there we have it, finished. The chair in the photographs was commissioned as a set of six, so I’ll leave you with a photo of them in their new home. I made the dining table too, but that’s another story…
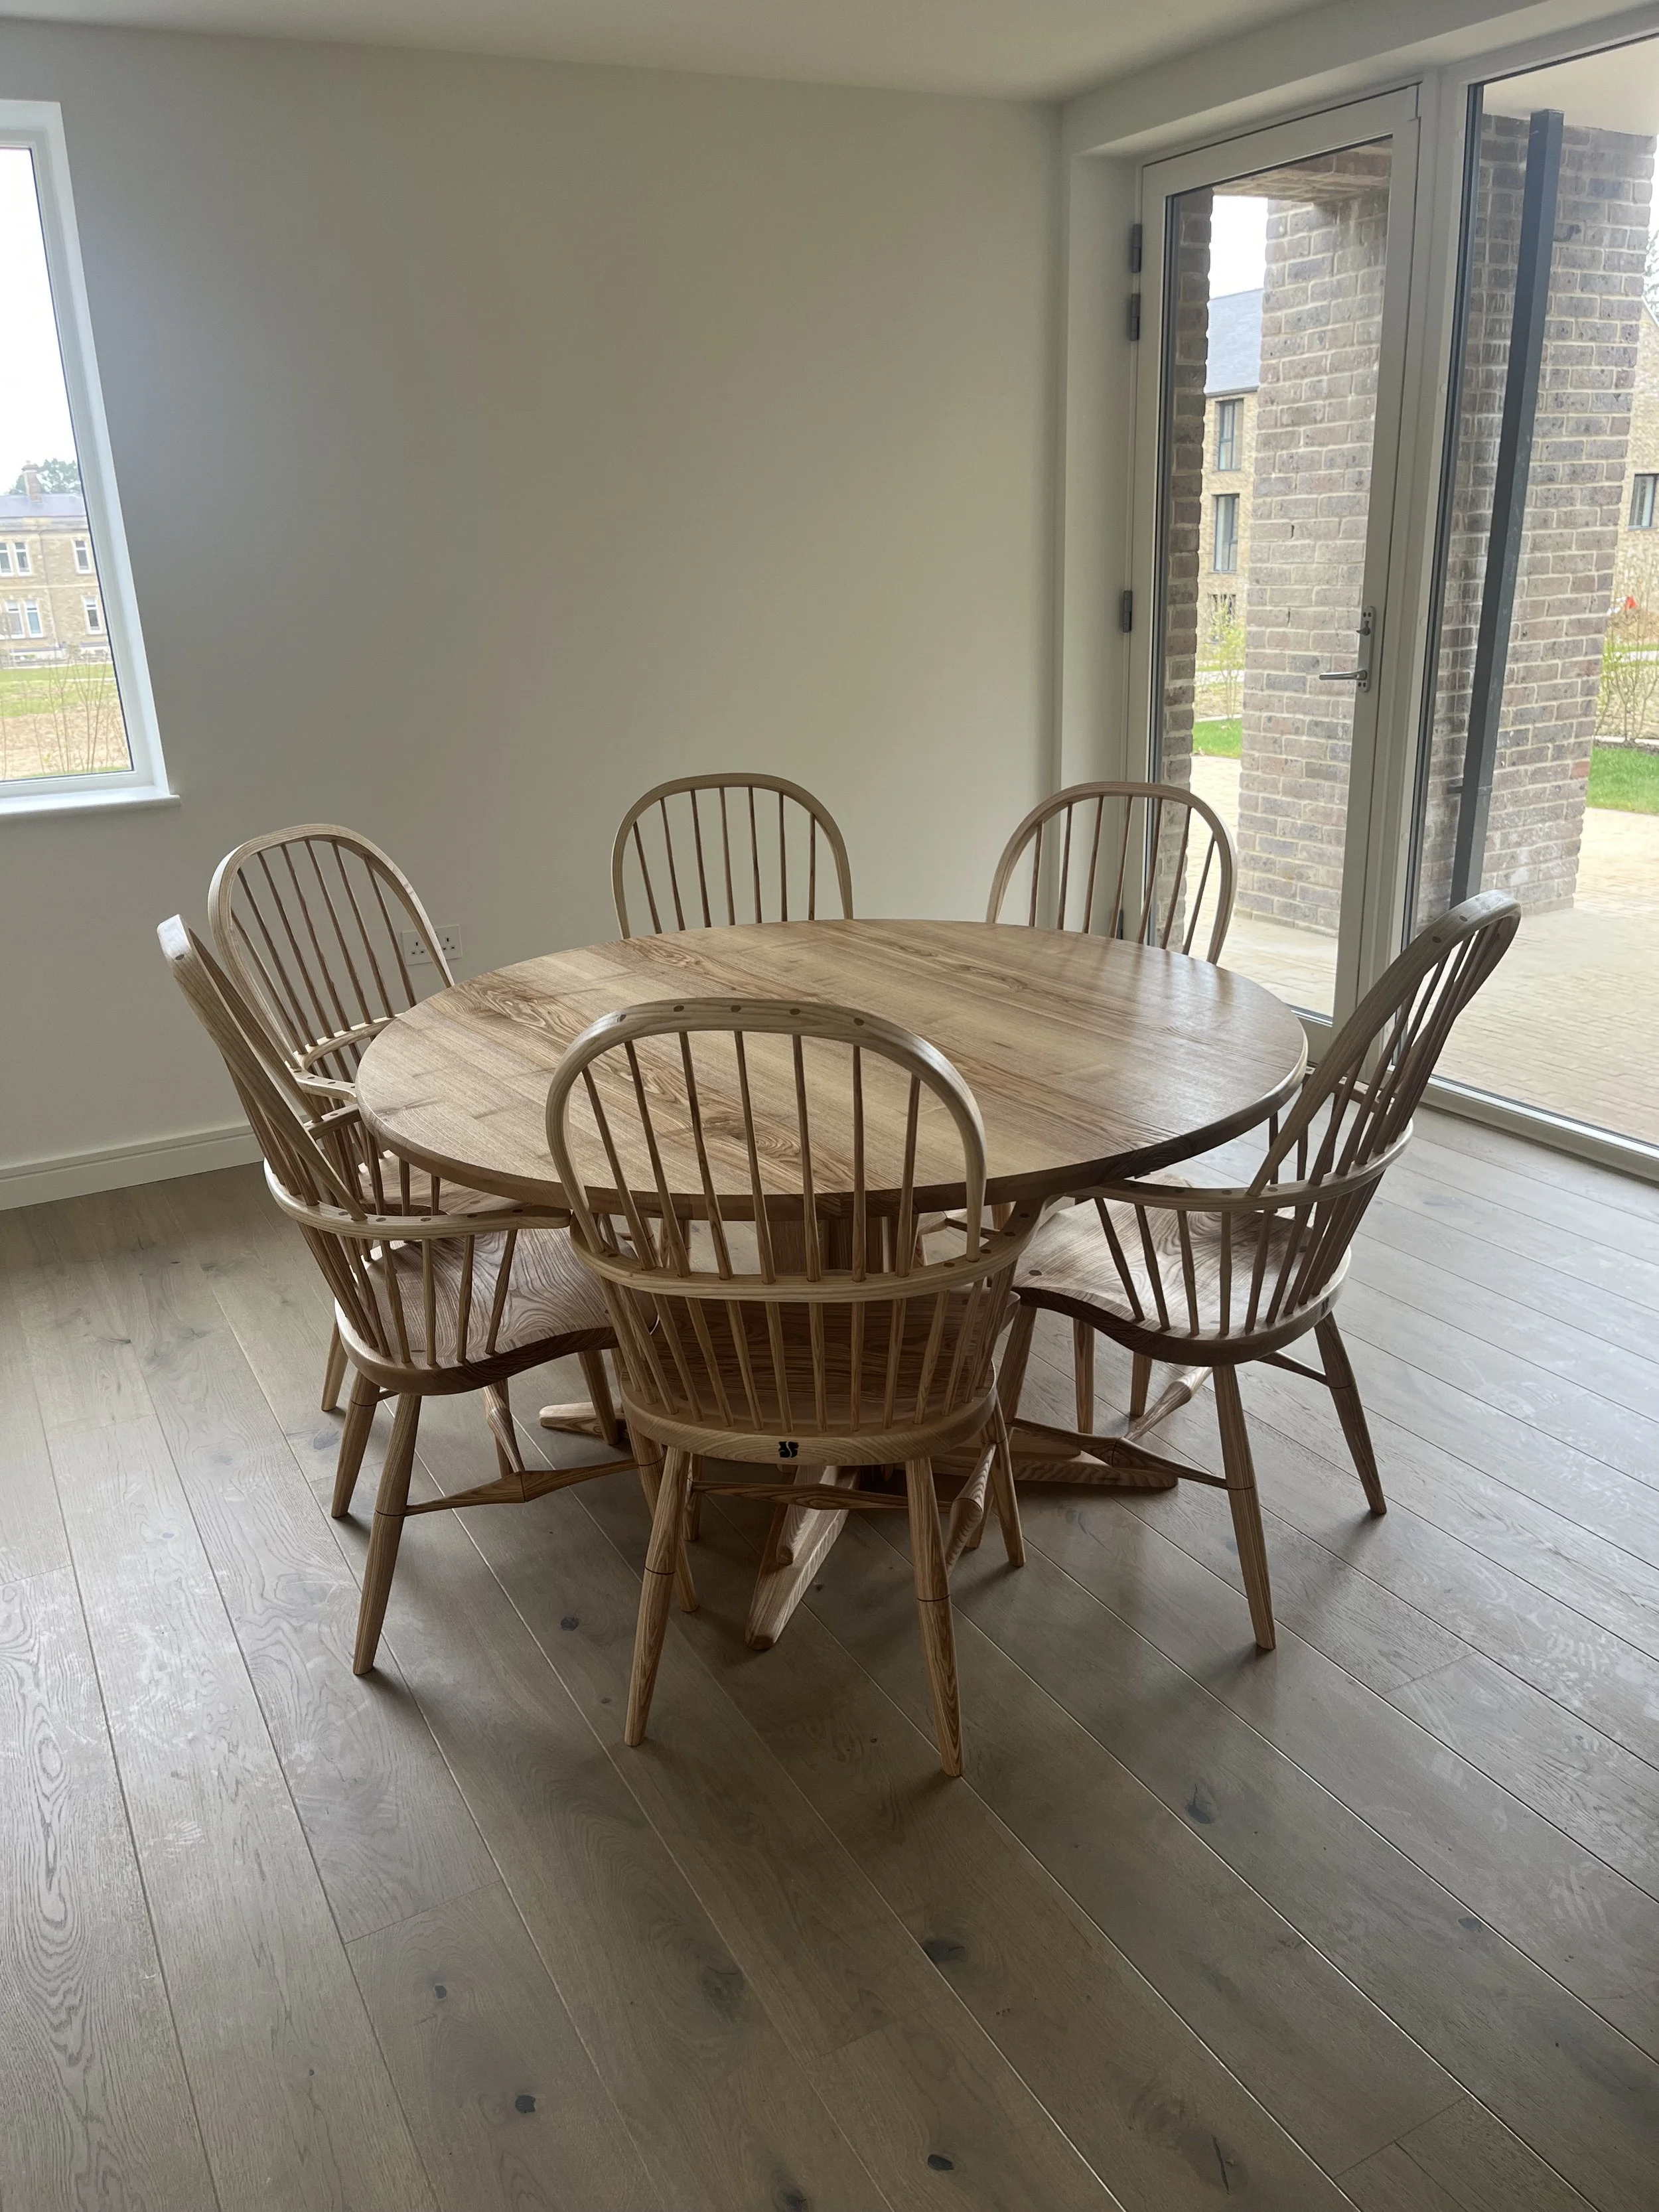
A Set of Six Double Bow Windsor Chairs and Dining Table
If you enjoyed this post, please share and subscribe!